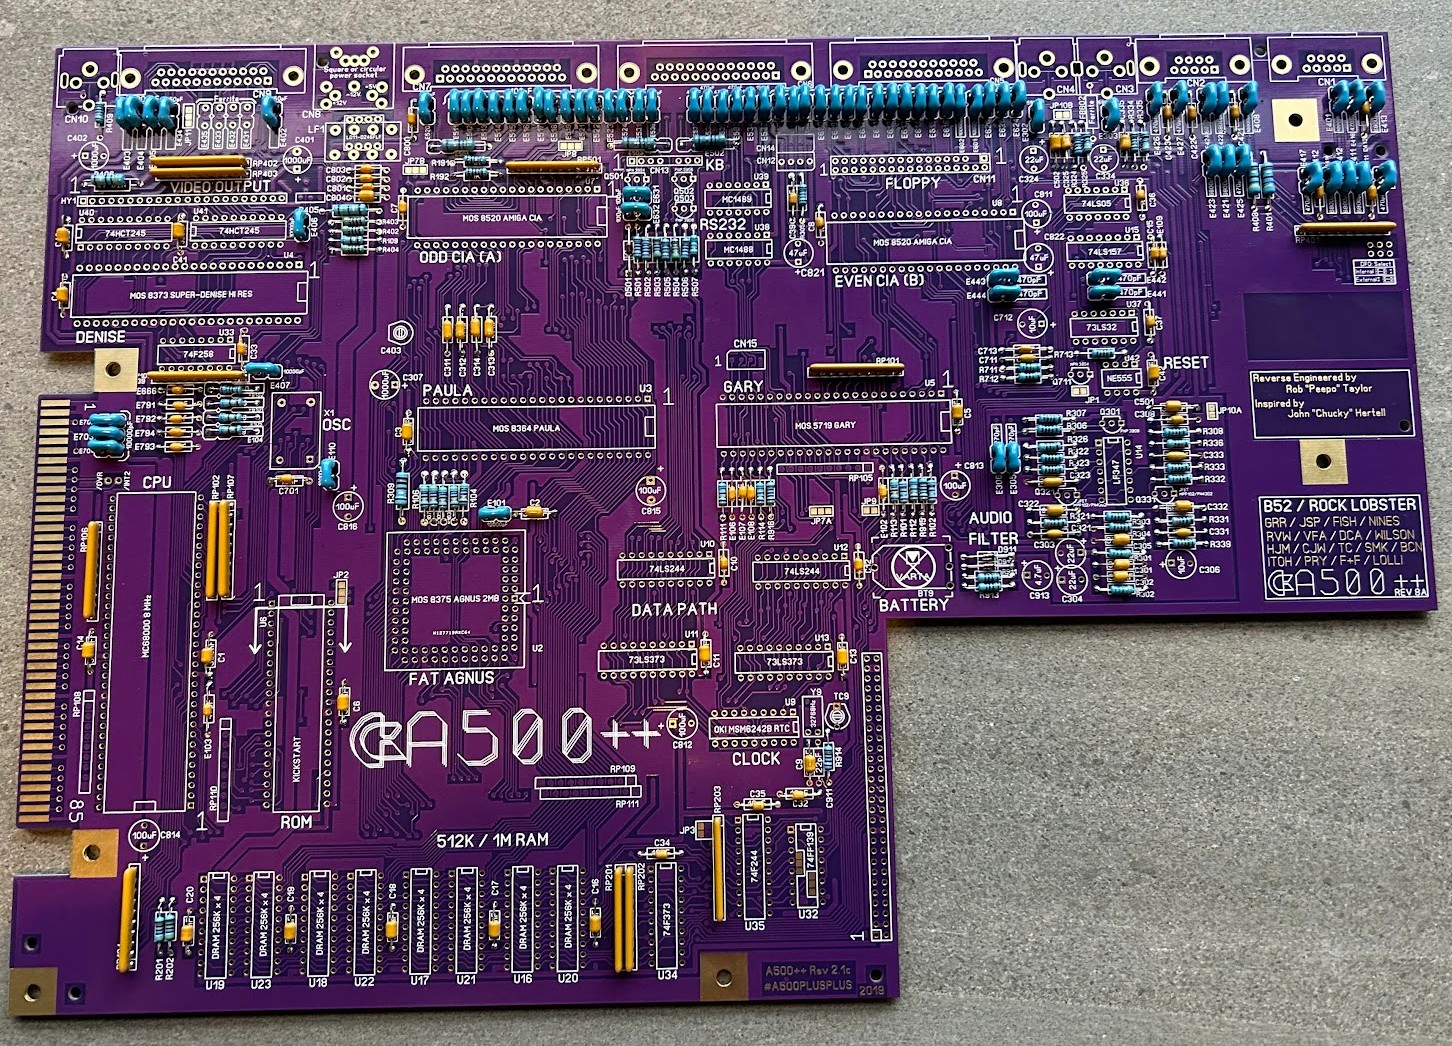
A500++ Build
Lots of people have built these and I'm not going to try and cover this in depth. I'll start by saying this is not a cheap project and you'd only do it if your aims are more than just having a working A500 plus.
I spent some time deciding between the A500++ or the RAEMIXX variant. I was leaning towards the RAEMIXX version but in the end it was easier to get my hands on the A500++ from Tindie. Ordering it through Tindie also meant I could order it with the resistors required and also a new 'Vidiot'.
By this stage I had an Amiga 500++ in my collection, but that had required a replacement board to get it working as the original board was too damaged by corrosion. I bought one from eBay which wasn't too damaged and transferred the custom chips over. So I had a spare A500+ board I could recover the display, floppy and power connector from. I also had an A500 Rev6 that I couldn't get to boot which had good custom chips.
There's a BOM provided and it's reasonably straight forward to order up you components from the likes of Mouser or Digi-Key. The only issue I had was some components were on back order so it took a few months to get the entire BOM delivered. I went with the 'dual-wipe' DIP sockets rather than the turn hole ones. Yes the turn hole ones are seen as the 'premium' option but they are also more risky to work with as it's easier to bend pins inserting the chips as the tolerances are very tight. I wanted to ensure I could swap in and out ICs more easily.
There's a bunch of components that you can't source new like some connectors and the custom chips so you do need a donor A500 board.
The build is quite straight forward and just requires time and patience. There's YouTube videos on building these and a logical order to install components. The hardest part was extracting the old display and floppy connectors from the old board. I don't have a fancy solder sucker station and had to use solder wick and hot air along with gentle prying to get it out. Luckily nothing broken!
As I had a single working A500 plus I needed another Fat Agnus 8375 so I ordered this off eBay. That coupled with the chips from the non working A500 Rev6 board allowed me to finish the build. I went with the standard Denise rather than the A500 plus 'super' variant. Yes the Super Denise has some additional display resolutions but in reality I don't think the super adds much.
I flashed a new 3.2 ROM and was ready to boot up for the first time. After triple checking all components were soldered in the correct location and correct orientation I powered it up and it worked!
I would like to get a new case for it, one of the A1200.net ones but postage to NZ is pretty high and I'm not yet ready to order one.